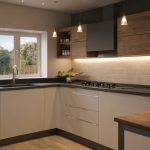
At dusk, a country kitchen can look inviting while the cook’s body casts a shadow across the chopping board. The practical decision is not how to make the room brighter, but how to put sufficient light on each task without flattening timber, paint, plaster, stone, and aged metal.
What lighting plan works best in country kitchens?
Country kitchens work best with diffuse ambient light, concealed task lighting, carefully positioned pendants, and restrained accent light, each controlled separately.
| Layer | Job | Location/control | Principal coordination risk |
|---|---|---|---|
| Ambient | Support circulation and room brightness | Ceiling or high-level fixtures; dimmable | Flat light or dark ceiling edges |
| Task | Illuminate preparation, sink, and cooking surfaces | Shielded under-cabinet or directed fixtures; separate dimmer | Body shadows, glare, and visible diodes |
| Decorative | Provide scale and a focal point | Above an island or table; independently dimmable | Blocked sightlines and weak task coverage |
| Accent | Reveal beams, shelves, stone, or plaster | Concealed or narrowly aimed; separate control | Hot spots and exaggerated defects |
Decorative country kitchen lighting should supplement rather than replace task lighting
A central chandelier can make the room welcoming while leaving perimeter counters dim. Beam spread, mounting height, cabinet depth, and the cook’s position determine whether light reaches the worktop. Establish the layout from preparation zones and sightlines, not a decorative ceiling pattern.
Each kitchen lighting layer needs its own control
Separate switching and compatible dimming permit bright preparation light without bleaching warm finishes during evening use. Specify driver access, dimmer compatibility, flicker performance, cable routes, and local electrical requirements before cabinet manufacture. Where cited 2024 IRC guidance applies, kitchens also require at least two 20-ampere small-appliance branch circuits. Accessible projects may need work surfaces between 28 and 34 inches above the finished floor, which changes fixture-to-worktop geometry. The next decision is measurable: how much light reaches each surface?
How much task light do country kitchen worktops require?
Specify and verify worktop illuminance at the working plane rather than inferring performance from wattage or apparent room brightness. The suitable target depends on local guidance, task difficulty, user needs, finish reflectance, daylight, uniformity, and shadow control.
Worktop illuminance must be measured where food preparation occurs
Illuminance is the light reaching a surface and is measured in lux. Lumens describe source output, while wattage describes electrical consumption. Maintained illuminance allows for output reduction caused by ageing and dirt. Uniformity reveals dim patches that one bright reading can conceal.
- Record the design target. Select it using guidance applicable to the project and its users.
- Measure the working plane. Place a calibrated illuminance meter horizontally at perimeter preparation areas, the island, sink, and cooktop.
- Set repeatable conditions. Document circuit settings and exclude daylight where practical, or record its conditions.
- Take several readings. Include edges and corners, then record the average, lowest value, and distribution.
- Retest after installation. Shades, diffusers, dimmers, and final finishes all affect delivered light.
Coordinate island wiring during this process. Under the cited 2023 NEC and 2024 IRC provisions, island and peninsula receptacles are not required solely because of work-surface size, but provision for future installation is required when an outlet is omitted.
Pendant-only lighting can leave perimeter counters below the intended task condition
Kitchen pendant lighting often concentrates light on an island while deep shades, cupboards, and narrow beams leave wall counters comparatively dim. A cook standing between a ceiling source and the counter can cast a shadow across the knife or chopping board.
Shielded under-cabinet lighting corrects that geometry. Before increasing output, however, examine the finishes because dark timber, saturated paint, and stone sheen affect perceived brightness and glare.
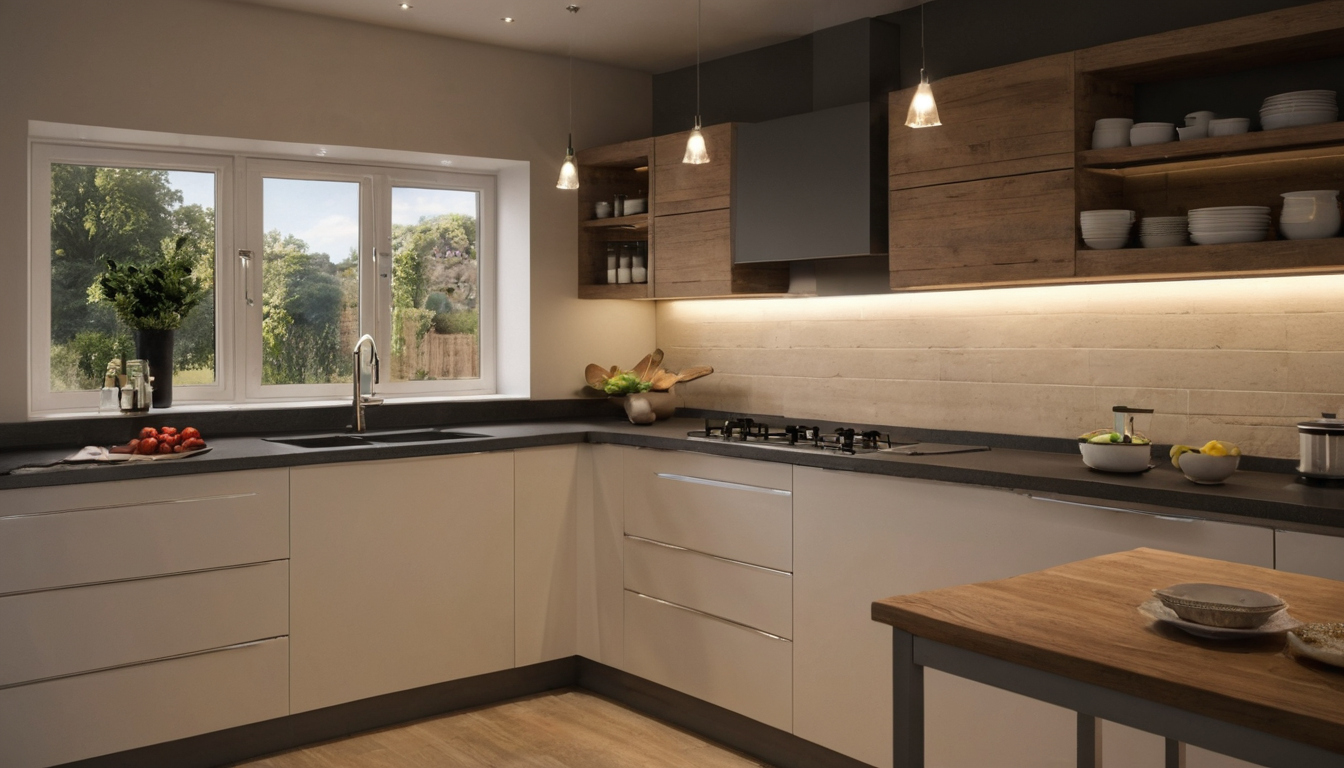
How much task light do country kitchen worktops require shown as an editorial planning reference.
Warm materials change how bright a country kitchen appears
Dark timber, honed stone, aged metal, and saturated paint return less useful light than pale finishes. Lighting calculations should therefore distinguish individual surfaces and glossy finishes instead of applying one room-wide reflectance assumption.
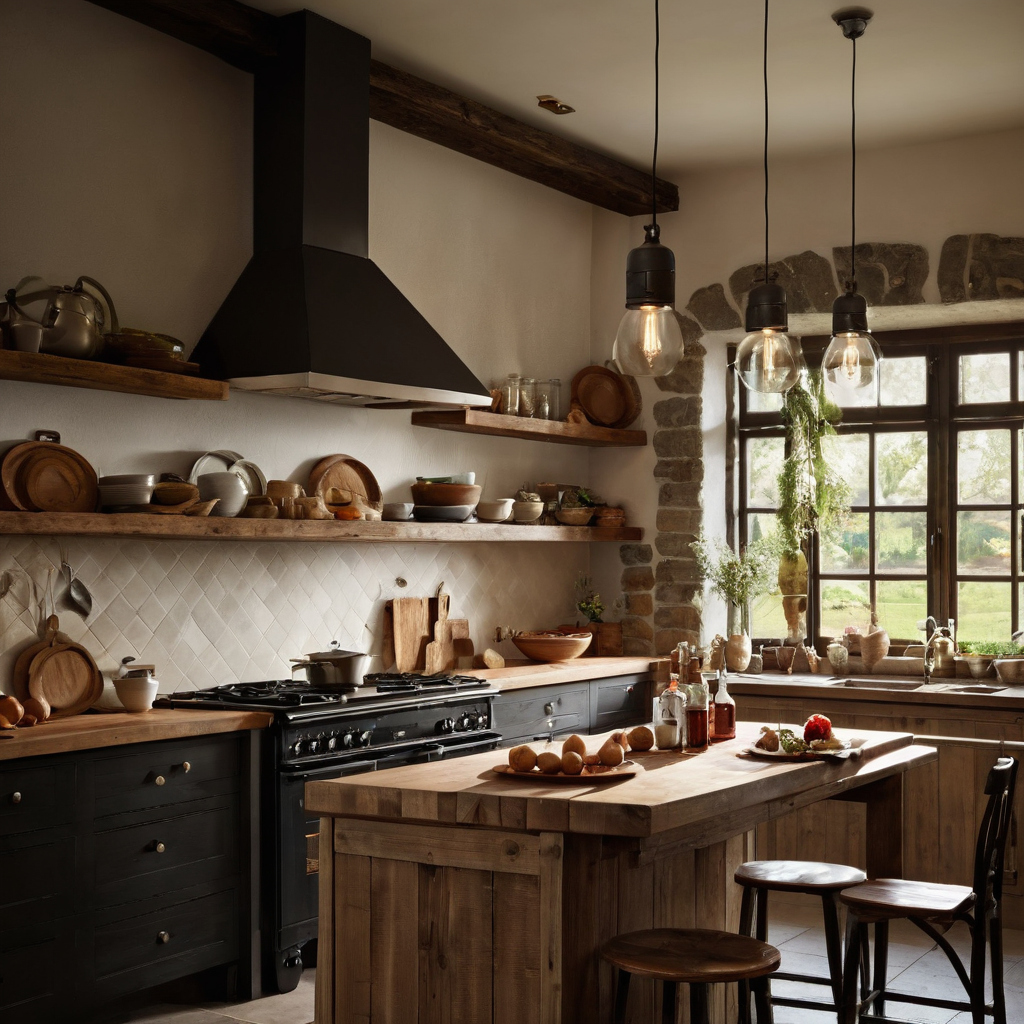
Warm materials change how bright a country kitchen appears shown as an editorial planning reference.
Dark timber and saturated cabinetry require distribution changes, not simply higher-output lamps
Request measured or manufacturer-published visible-light reflectance data for the specified paint, plaster, timber, stain, stone, tile, and metal where reliable information is available. Treat sample values as calculation placeholders until the actual finish is approved.
- Dark timber and deep paint: Increase coverage before decorative-lamp output. Broad ambient distribution and closer task-light spacing control shadows better than a brighter central pendant.
- Lime plaster and pale paint: Use ceilings and upper walls to spread soft light, but test the actual texture, pigment, and sealant.
- Dark floors and small windows: Add vertical illumination to cabinetry and walls so a bright counter is not surrounded by darkness.
- Exposed beams and low ceilings: Check beam depth, concealment, clearances, cleaning access, and alternating shadow bands.
Electrical planning must remain coordinated with those surfaces. Where the cited rules apply, general wall receptacles are distributed so no qualifying point along the floor line is more than 6 feet from an outlet, with no more than 12 feet between outlets. Accessible layouts may also require a 30 by 48 inch clear floor space, affecting where people stand and cast shadows.
Stone sheen and glazed tile can produce reflected glare at normal viewing angles
- Honed stone: Diffuse reflection can soften glare, but a dark slab may require closer task-light spacing.
- Polished stone and glazed tile: Test standing and seated sightlines. A higher meter reading is not useful if reflected diodes or downlights remain visible.
- Aged brass and copper: Test diffused channels and shielded fittings because curved highlights can become distracting.
Protect finish samples during testing. The Natural Stone Institute recommends neutral cleaners, stone soap, or mild dishwashing detergent and warm water for natural stone and warns that abrasive scouring products can scratch it. During sample preparation, the U.S. Environmental Protection Agency recommends increased ventilation when products emit volatile organic compounds.
Efficient sources also reduce replacement work in difficult locations. ENERGY STAR states that qualified LED lighting uses at least 75 percent less energy and lasts up to 25 times longer than incandescent lighting. Distribution and glare still need to be correct before color quality is chosen.
Which color temperature and color quality preserve country kitchen finishes?
Select country kitchen lighting for spectral quality and consistency, not simply the warmest available lamp. A moderately warm appearance may suit timber and aged metal, but the final choice must be tested against actual finishes and food.
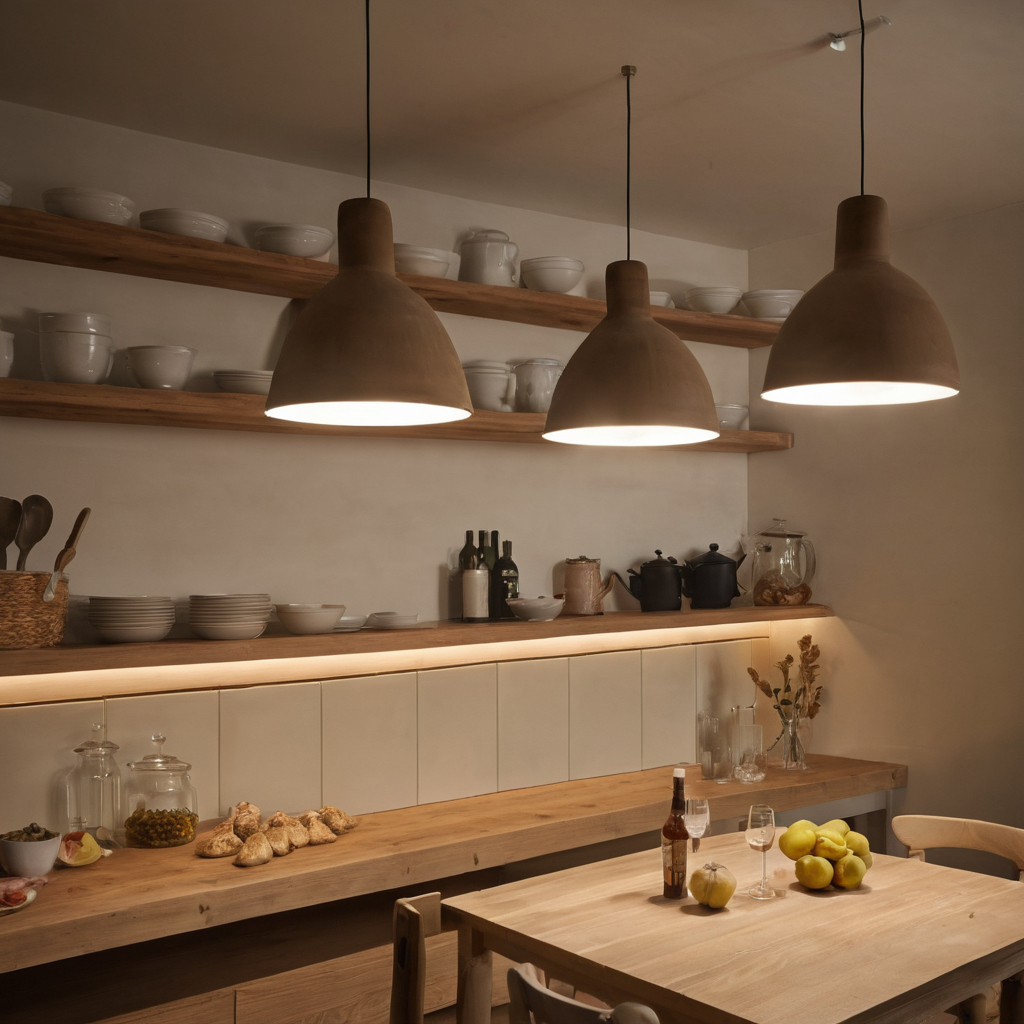
Which color temperature and color quality preserve country kitchen finishes shown with practical context cues.
Warm white and daylight lamps solve different kitchen conditions
Correlated color temperature, or CCT, describes whether white light appears warmer or cooler. CCT does not describe spectral power distribution, color fidelity, or an unwanted green or pink tint. Cooler light may integrate with strong daylight, while warmer light may suit evening use and timber undertones.
Compare candidate sources at similar illuminance with daylight present and again after dark. Include any warm-dim setting intended for dining. Prepare and cure samples with ventilation because the U.S. Environmental Protection Agency identifies paints, varnishes, waxes, building materials, and furnishings as common indoor VOC sources.
Color rendering must be checked across timber, paint, stone, metal, and food
CRI provides a headline indication of color fidelity, but one score cannot predict every red, green, timber tone, or painted neutral. TM-30 data, where available, adds information about fidelity and saturation changes. Chromaticity consistency describes how closely separate sources match, while spectral power distribution shows which wavelengths each source delivers.
- Review timber, cabinet paint, stone, tile, metal, and representative food.
- Compare pendants, downlights, and concealed strips at several dimming levels.
- Request color data, CCT tolerances, test reports, and driver information.
- Specify one LED family where practical, or approve a visual comparison.
- Confirm that replacement lamps or modules will remain obtainable.
Once color quality is approved, fixture position determines whether finishes appear clear or become obscured by glare and body shadows.
Where should pendants, downlights, and concealed task lights be positioned?
Position fixtures from the work surfaces upward, accounting for sightlines, cabinet geometry, ceiling construction, and body-shadow paths rather than imposing a symmetrical ceiling grid.
Under-cabinet task lights should be shielded and located to cover the useful worktop depth
Place continuous linear lighting near the cabinet front when broad coverage matters. Rear mounting often brightens the splashback while leaving the front preparation zone weaker. Specify a diffusing channel, concealed source, accessible driver, cleanable lens, and cable route before cabinetry enters production.
Coordinate channels with shelves, hinges, corner joints, and receptacles. Under cited 2024 IRC provisions, qualifying wall work surfaces at least 12 inches wide must satisfy countertop receptacle rules, including maximum horizontal spacing criteria.
Kitchen pendant lighting must be coordinated with sightlines, glare, and task coverage
Set pendants in section drawings using island size, ceiling height, standing and seated eye levels, extractor position, fixture weight, luminous opening, and suspension range. Hanging lights for kitchen islands remain decorative unless photometric information confirms useful task coverage. Review sizing, spacing, and glare control for kitchen island pendants before locating junction boxes.
Downlights should illuminate vertical and horizontal surfaces without creating body shadows
Align downlights with counter fronts, sinks, cooktops, tall cabinets, and shelving rather than room centerlines. Check beam spread, shielding, extractor clearances, exposed beams, and stone reflections before finished ceilings prevent adjustment.
Country kitchen lighting should be specified and tested before finishes are installed
Complete lighting decisions before ceilings close, cabinets enter production, and stone templates receive approval. Early coordination protects concealed channels, accessible drivers, pendant supports, cable routes, and separate control circuits.
A lighting mock-up should use the actual country kitchen finishes
Build a full-scale test with representative timber, paint, stone, metal, and tile at their intended distances. Review the scheme by day and night, at several dimming levels, from standing and seated positions. Measure each task surface and inspect for color shifts, glare, visible tape light, and body shadows. Agree acceptance criteria before bulk orders.
Commissioning must verify controls, illuminance, flicker, and replacement access
Fixture approval should record photometric information, delivered lumens, beam angle, CCT, color-rendering data, tint consistency, dimming protocol, driver position, warranty, replacement strategy, applicable ingress protection, and local certification.
Final commissioning should record task-area readings, test every dimmer across its operating range, check flicker and mixed tint, label circuits, aim fittings, save control scenes, and confirm maintenance access. Approve lighting through drawings, samples, measurements, and controls before finished surfaces close off corrections.
Country Kitchen Lighting FAQ
What is task lighting in a country kitchen, and which surfaces need it?
Task lighting delivers controlled illumination to preparation counters, islands, sinks, cooktops, and other working surfaces. It should cover the useful worktop depth without body shadows or visible glare.
Is warm white or daylight lighting better for timber and painted country kitchens?
Neither is universally better. Compare candidate CCTs at equal brightness against the actual timber, paint, stone, metal, and food, both during daylight and after dark.
Can kitchen pendant lighting provide enough light for food preparation on its own?
Only if its photometric performance and installed position provide adequate, uniform worktop illumination. Many pendants concentrate light on an island and require concealed task lighting elsewhere.
How can hanging lights for kitchen islands be positioned without causing glare or blocking sightlines?
Draw standing and seated eye levels in section, then coordinate shade depth, luminous opening, suspension range, island size, ceiling height, and fixture spacing before fixing junction-box locations.
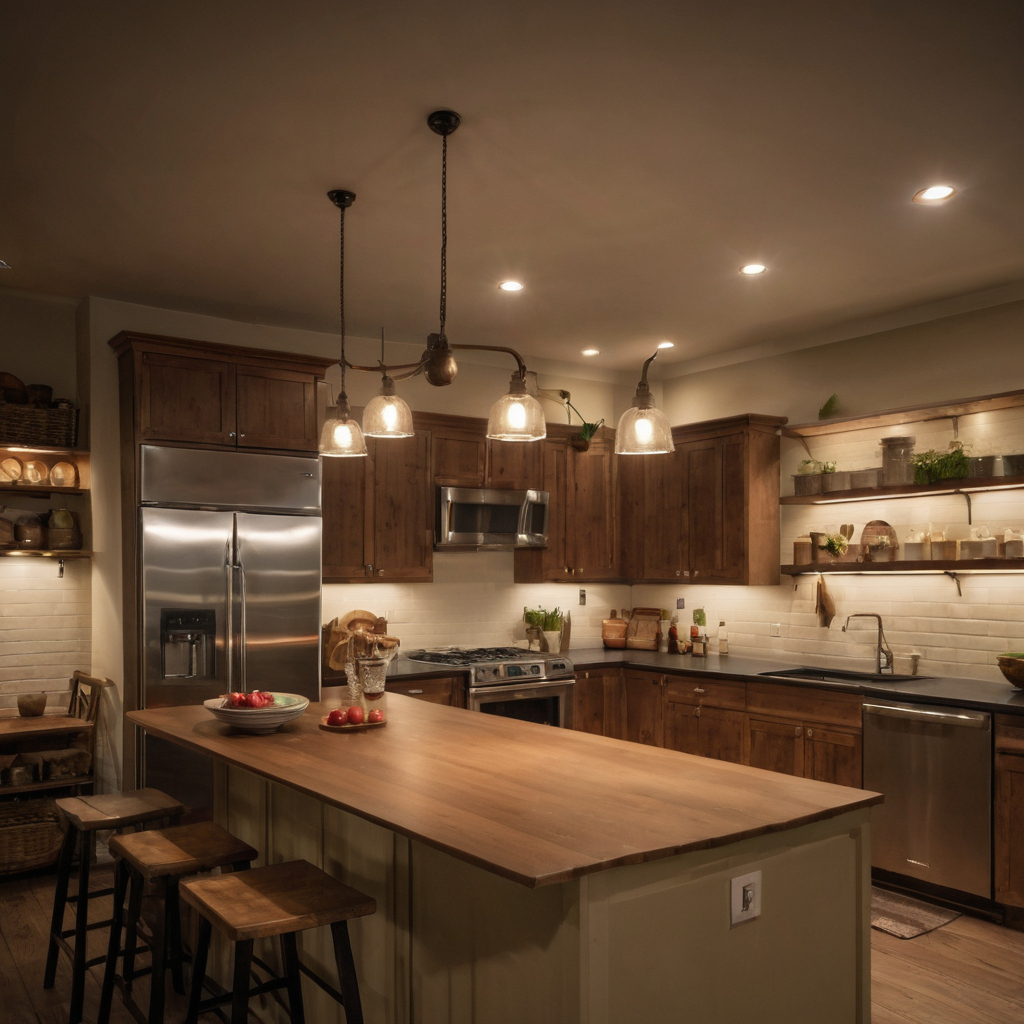
Country Kitchen Lighting FAQ shown with practical context cues.
What lighting changes make a dark country kitchen brighter without removing its warm character?
Improve distribution first. Add shielded worktop lighting, illuminate upper walls or ceilings, brighten important vertical surfaces, and place each layer on a separate dimmer rather than relying on one higher-output central fixture.